- 18 Posts
- 317 Comments
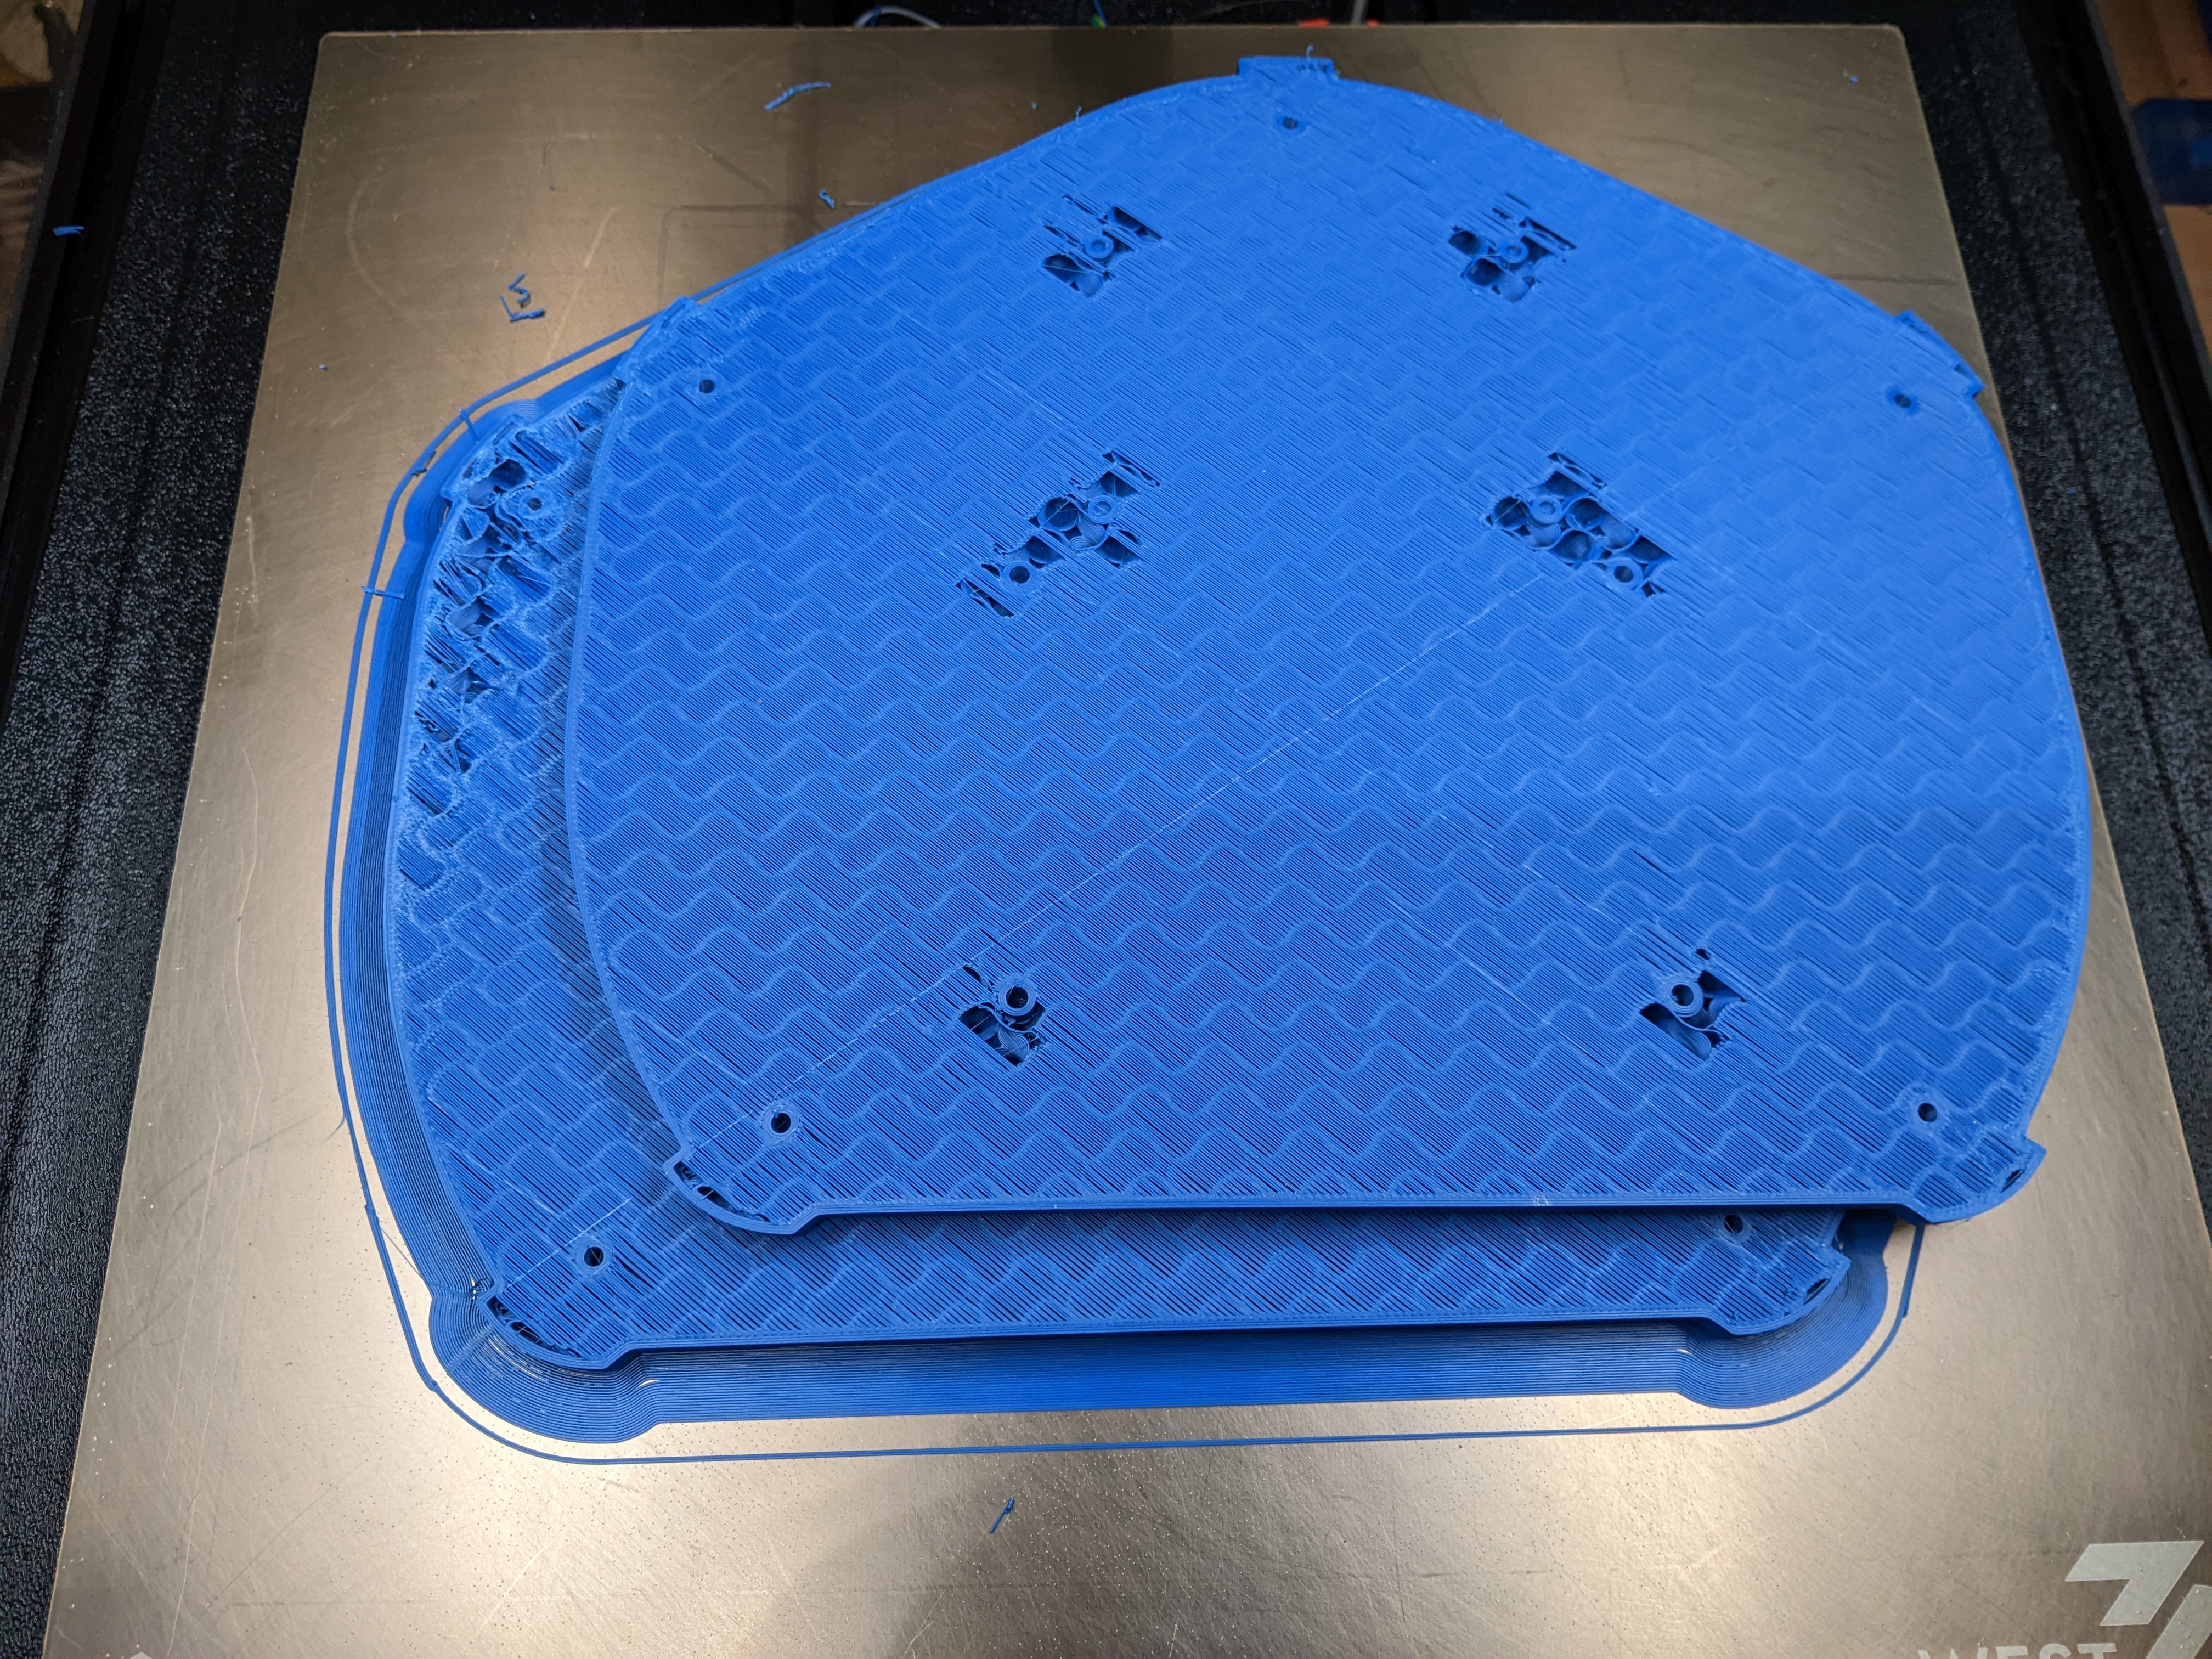
Do you have a pair of calipers that you can use to measure print height? If yes, don’t take it off the bed. Measure the height of the print, delete those layers out of the gcode (it’s just a text document after all), and reset. Note that the gcode and printer setup might require some fiddling to get right, but I’ve resumed prints like this without problems before. They don’t all look perfect at this layer, but they’re certain better than nothing. Once the print loses its hold on the bed, all bets are off.
Hair color changes with age. My mother in law and wife were both blond when they were kids, but their hair slowly turned browner with age. They both highlight their hair to split the difference.
We have two fairly young kids. Their hair is pretty light blond on the top layers, but their bottom layers are quite a bit darker. I suspect the biggest contributing factor beyond genetics is sunlight. Both of them spend a pretty good amount of time outdoors when the weather permits.

 1·9 days ago
I try to keep my writing somewhere in the middle. Easy examples include intent, which is sometimes more important than the explanation itself, as well as outlining alternative ideas/approaches and why they weren’t used.
I greatly appreciate insight into the thought process of others and try to pay it forward.
little kids
If the kids are truly little this would be an OK move from the US. However, schools in Puerto Rico teach in Spanish which would be a struggle for kids who are not fluent.
If there’s a sudden boom in prison construction in the next few years I’ll reconsider of course
You work in what now 🤨
Sarcasm aside, I am genuinely curious why you would leave this here. Is your work related to something with prisons?
I hope you get a decent answer. When we last visited 10 years ago a similar idea passed our minds.
I did some poking around at the time out of curiosity. From what I recall, a decent amount of manufacturing moved there in the 70s to claim made in America, take advantage of cheaper labor, and take advantage of some tax incentives. The incentives were phased out and manufacturing started leaving. Wikipedia .
I am not sure what their economy is like these days, but as with all moves a chunk of it is going to come down to the work you can/want to do and the jobs available, but with remote work living somewhere like Puerto Rico does seem appealing.
I suspect you’re going to have the usual island pain points (hurricanes, expensive imports, limited economy, a large swath of the economy tied to tourism) and benefits (consistent weather year round, natural beauty which PR has a ton of, beaches, interesting culture).
Again, I really hope someone with first hand experience chimes in - even if the moved in the other direction from the island to the mainland.
Keeping a woodworking hobby from devolving into tool collecting can be a trick.
This can be true of most hobbies, lol. Amusingly, three others of yours fall into that pattern.
Electronics? If only I had a bigger power supply, higher speed/more channel scope, hot air station, logic analyzer, etc. Guitars? I have friends and coworkers who play. No one only owns one guitar, pedal, amp combo. Gardening? I have quite the setup in my basement to get seeds going, but I live in zone 6 and need to compensate some for the short growing season. Cooking can also be it’s own equipment rabbit hole.
Beyond that: Cameras? Choosing which brand of body to use, sensor size, lens collection, tripods/flash/accessories. If you play a tabletop game do you really play a tabletop game or are you looking for an excuse to make and paint minis? 3D printers can be just as much about messing with the printer as actually printing things.
I think it’s important to recognize the pattern so you can consciously decide if you want to fall into it or avoid it. For some people, the collecting around the hobby is even better than doing the hobby.
Factories will win this hands down, especially when you’re building large/complex items. It looks like the distinction might be “single building” vs “complex or buildings”, but VW’s Wolfsburg plant is 70 million square feet. The largest plant I’ve been to isn’t on that list, but it’s still over a half mile wide - all under a single roof.
Good luck. The company I work at has the exact same problem. Since each system tends to be owned by a different org, and the systems all meet the owning org’s needs, you’re going to be in for struggle.
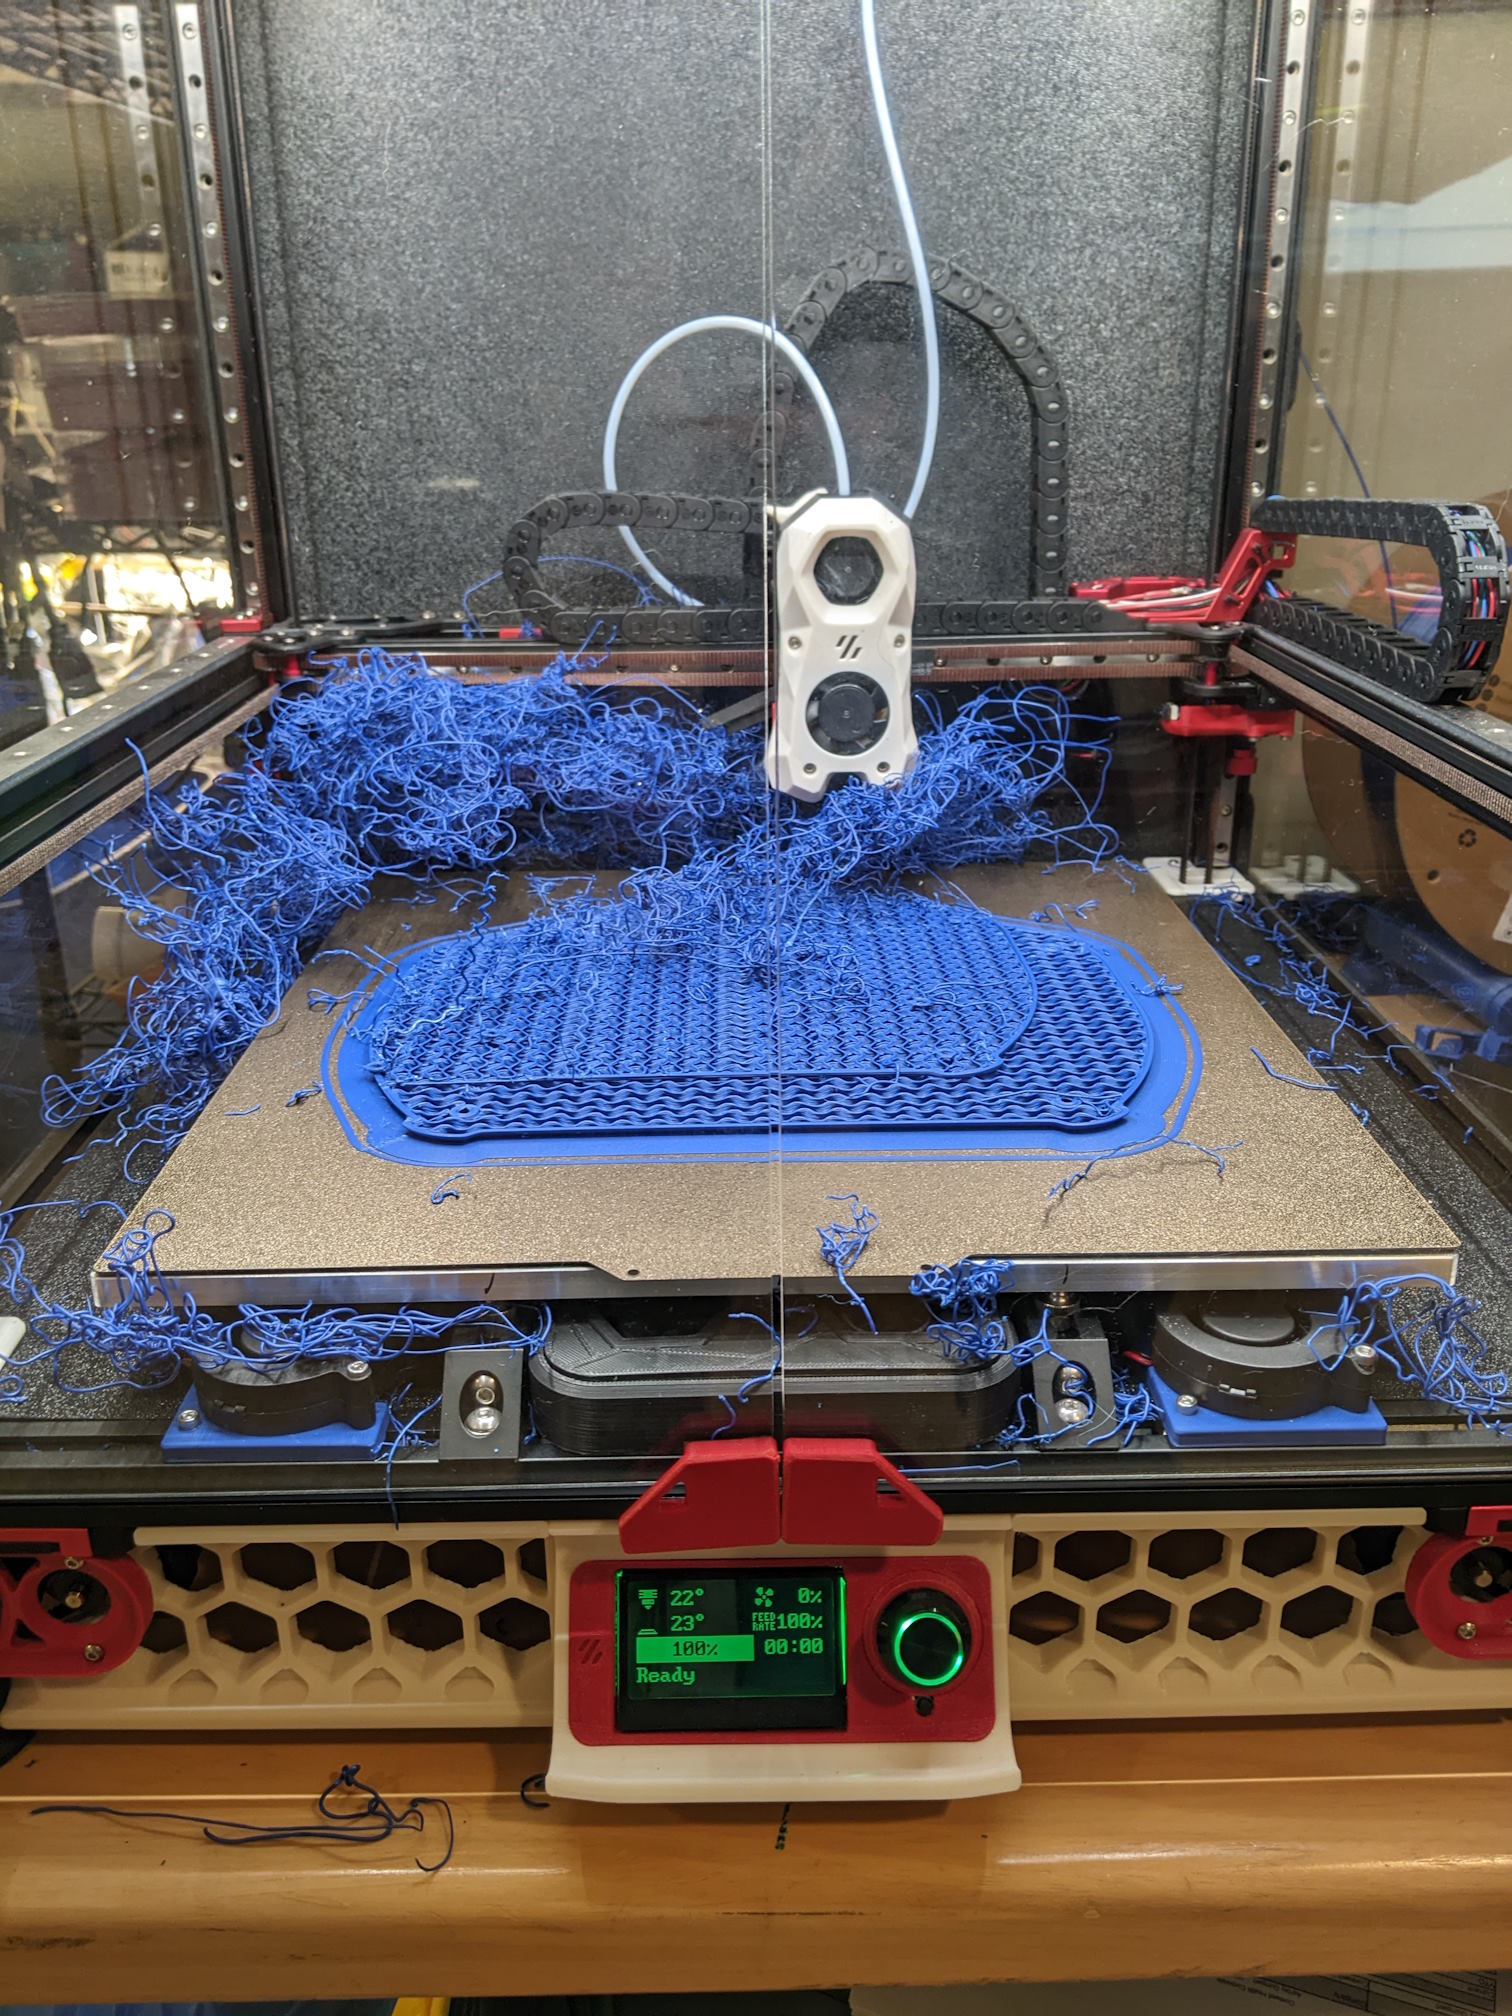
Is the print stopping or does the printer keep going like all is well?
If the printer is continuing like everything is normal, you can surmise that the issue is either the heater, the extruder, or the filament path.
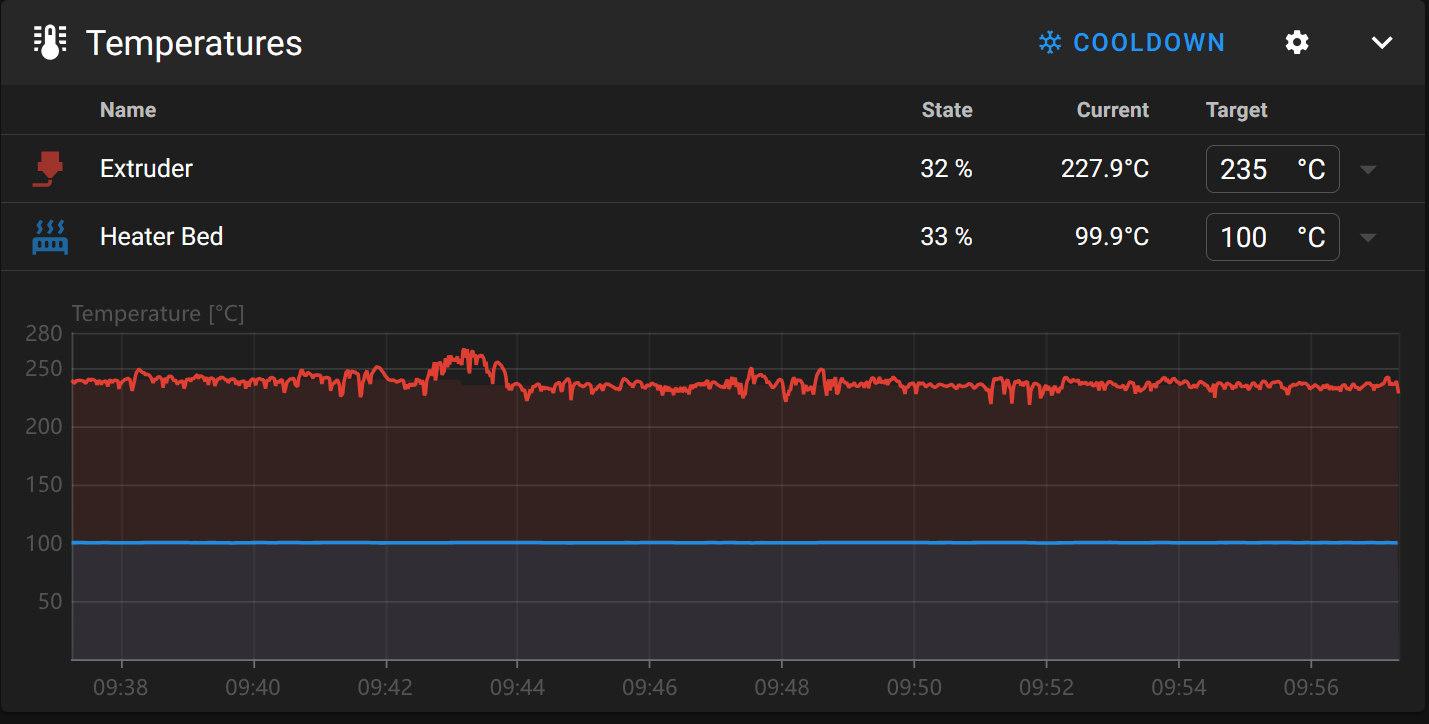
What does your temp graph look like during the print? Oscillations = potential wiring issue, especially if they’re not present for the whole print.
Have you caught the printer doing this? Is the extruder clicking? If yes, something is preventing the filament from moving through the extruder. You’re either developing a clog or something is preventing the filament from feeding (binding, etc).
If the extruder isn’t clicking, and the print continues for a bit, does the extruder slowly chew through the filament? If yes, you probably need more tension on the feed screw. I would still suggest looking for souces of binding.
 3·25 days ago
Except BBQs are often against fire code so they’re not allowed 😭
 1·25 days ago
Turning leftovers into fried rice generally results in one of my favorite foods. That’s not to say I don’t like more upscale options too, but man.
I don’t know that I would call Harris cake, but I totally agree that she’s far less repugnant than Trump.
 17·25 days ago
Tons of incremental updates.
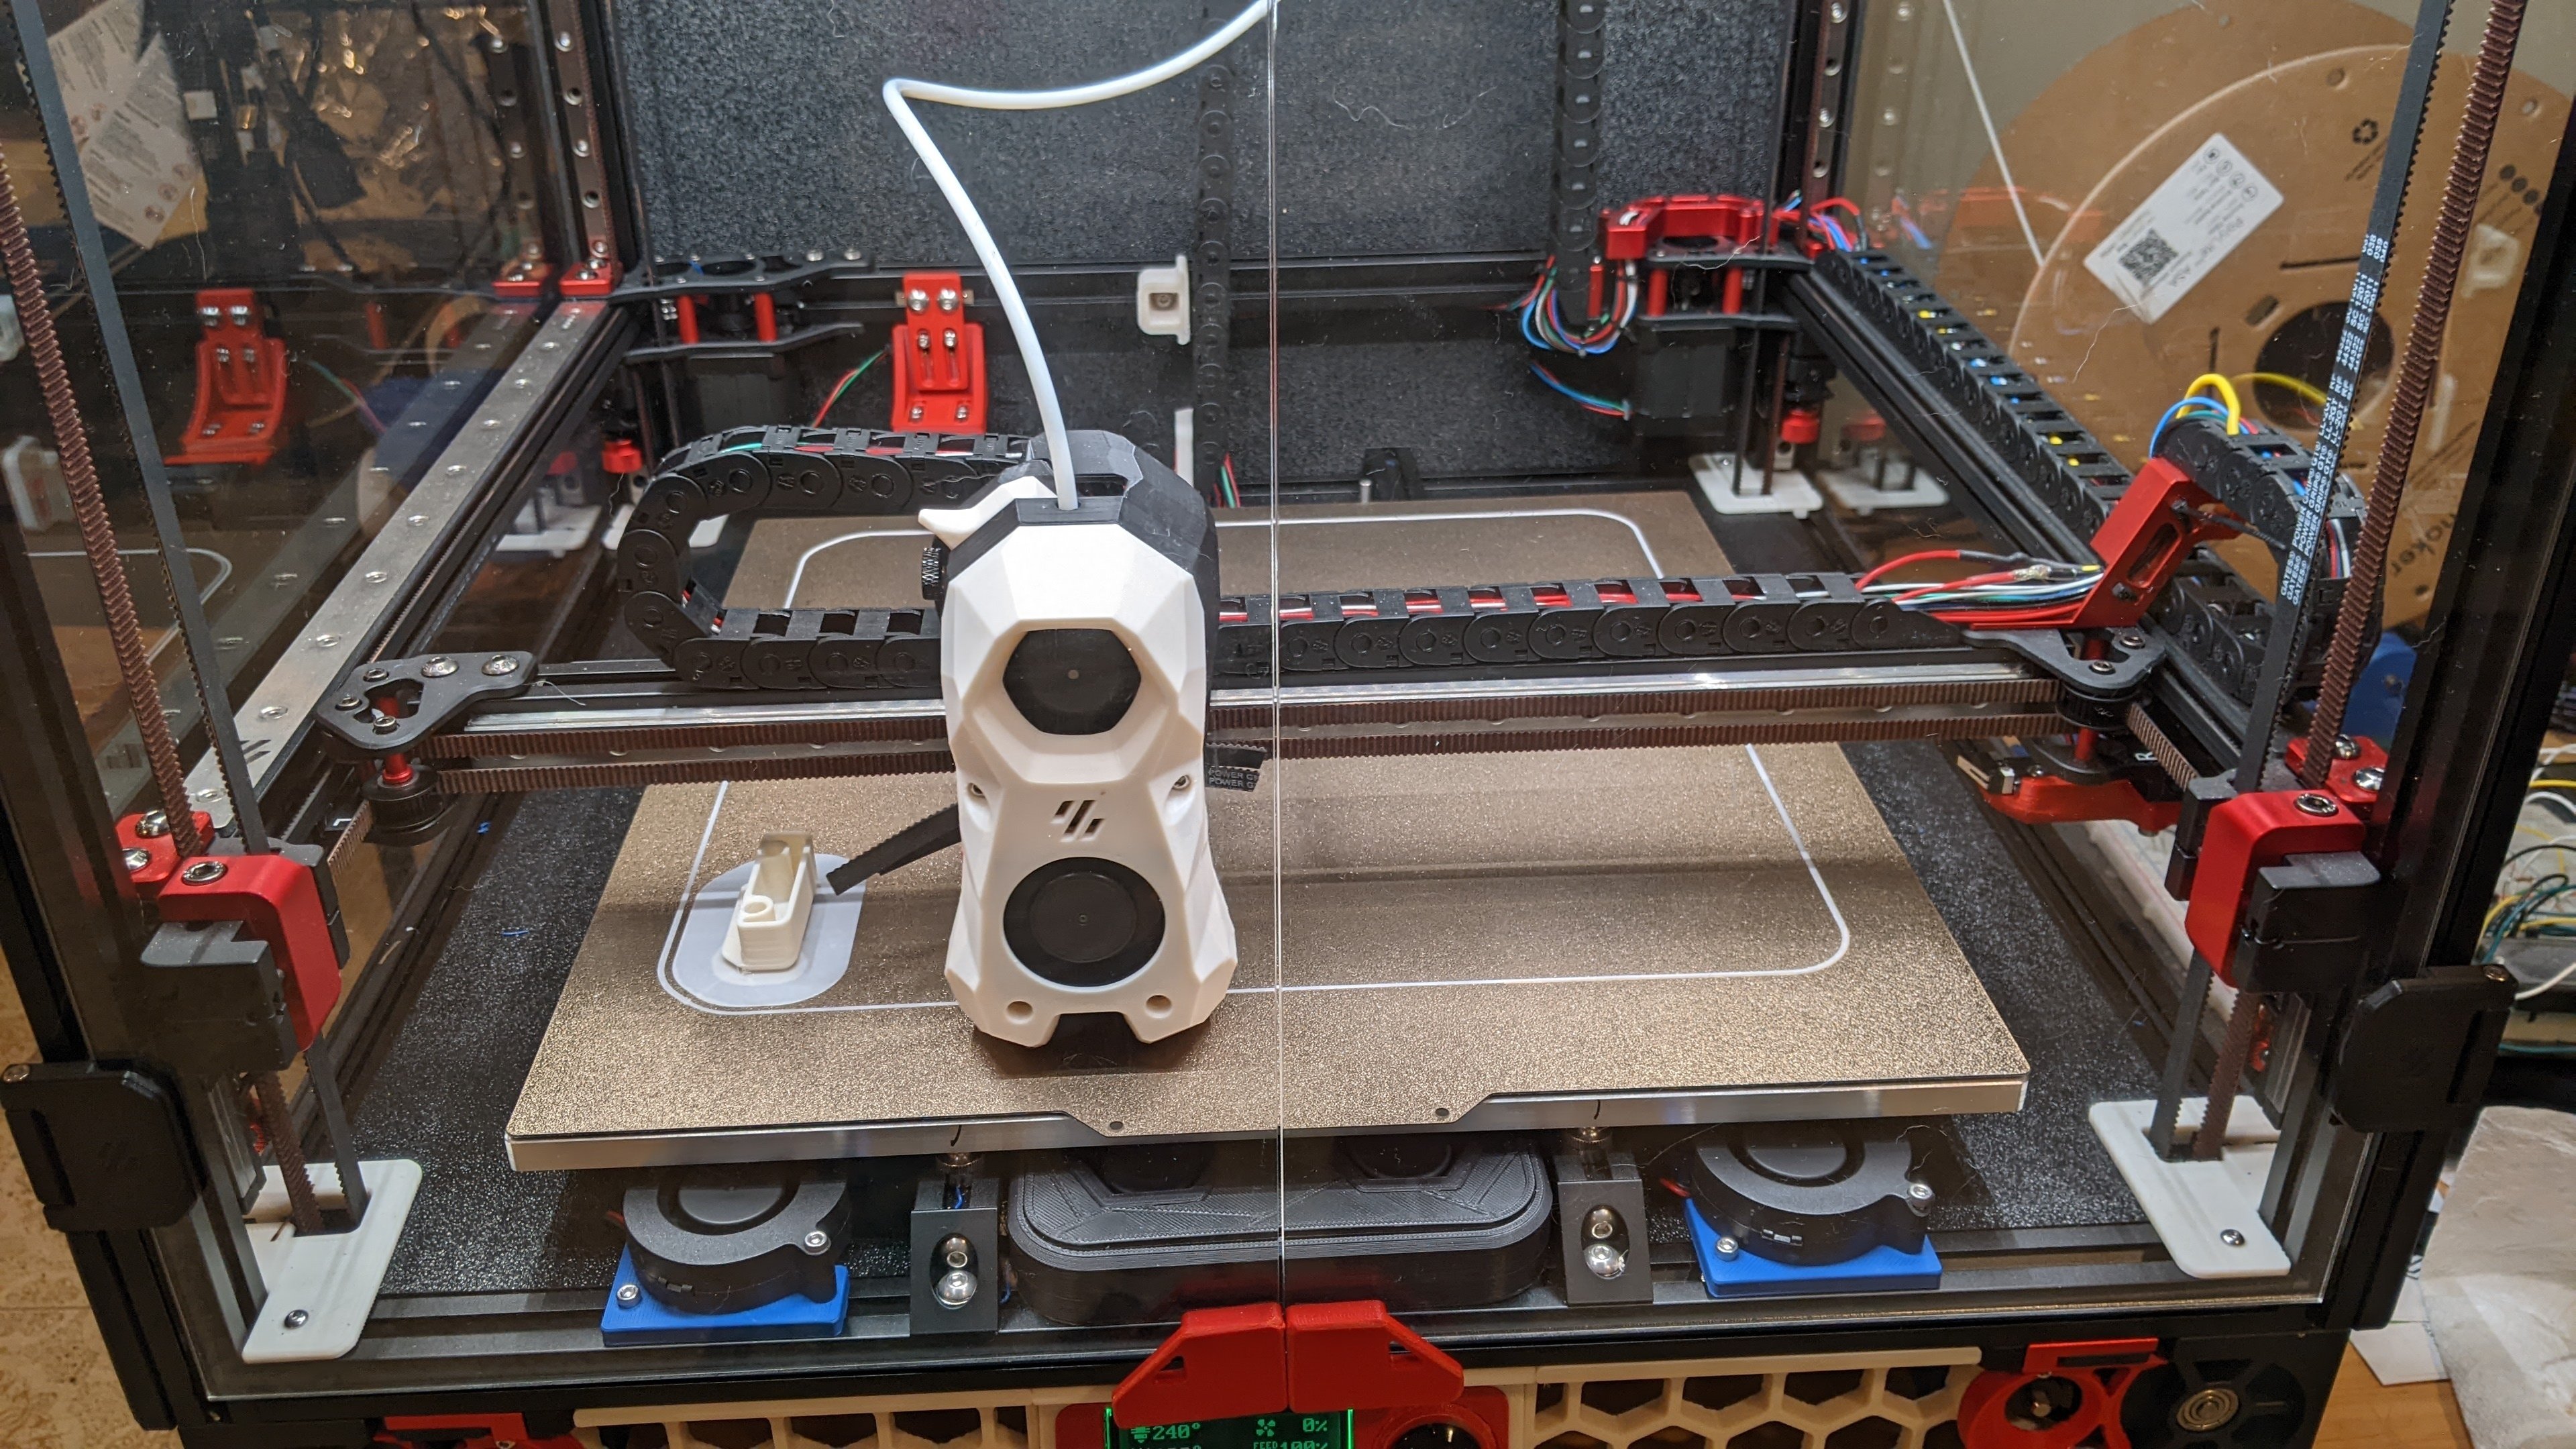
Based on the printer in the picture I think you have one of the answers, lol.
The other answer is slicers, but if you’re using Bambu’s you’ve also seen that change now.
I agree that building a Voron is a project. I had a Pursa I3 clone (knockoff) that I used to print most of my parts on. If you don’t already have a 3D printer you can use the Print it Forward program to get printed parts shipped to you. Parts aside, your first build will take an easy 20-40 hours. This isn’t because the build is hard, it’s just that the build is long - especially if you want to have your wiring just-so. On the upside, you’ll have a very good knowledge of how your printer operates at a physical and firmware+Klipper config level once your done.
Be wary of better. From a quality of life perspective I would absolutely put my 2.4 ahead of a Prusa. For example, I can mechanically level my bed via automation. That said, expectations often outstrip reality. Beware of what you’re getting into.
I think you got a lot of good replies, but at a glance no one said “Prusa good!” so here’s that reply. Prusa printers are workhorses. They run their own machines in a print farm printing parts for the printers they sell and iterate/bring tweaks into production.
If you look at posts from a year or more ago they’ll frequently appear as trustworthy/hassle free options. They’ve somewhat fallen out of favor from a price to performance ratio, but if you want a hassle free printer so you can just worry about printing they’re still a good option.
Jumping in here, a lot of what you said checks Voron boxes. Fast, CoreXY, can print a range of material, completely open source. I really like my 2.4. You can self source the whole BOM from wherever you want. There are a few BOM in a box options, including some put together by US companies (West 3D) but with whatever you buy a decent quantity of the BOM is going to originate overseas.
There’s a very large community around the printer, along with tons of mods. The only thing it doesn’t do out of the box is multi-material, but there are mods for that.
It goes beyond this to the things people print. There’s a lot of… low shelf life dudads turned out by a subset of our community. For example, a coworker printed each of the ten of us a 4" tall Groot as a holiday present pre-covid. I bet most of those wound up in the bin. I totally get the hobby of collecting trinkets, but often wonder about the end state - it will all eventually need a new home or will end up in a landfil.
Plastic recycling is a fine idea, but in many cases the material winds up getting shipped overseas and burned. It’s also the least preferred option of reduce, reuse, recycle. It is cool that some filament companies are now accepting scraps, but that’s not very common (yet?). I also wonder how they deal with contamination. Sorting the different plastic types is difficult today from my understanding. That and low resale value is why plastics recycling is struggling.
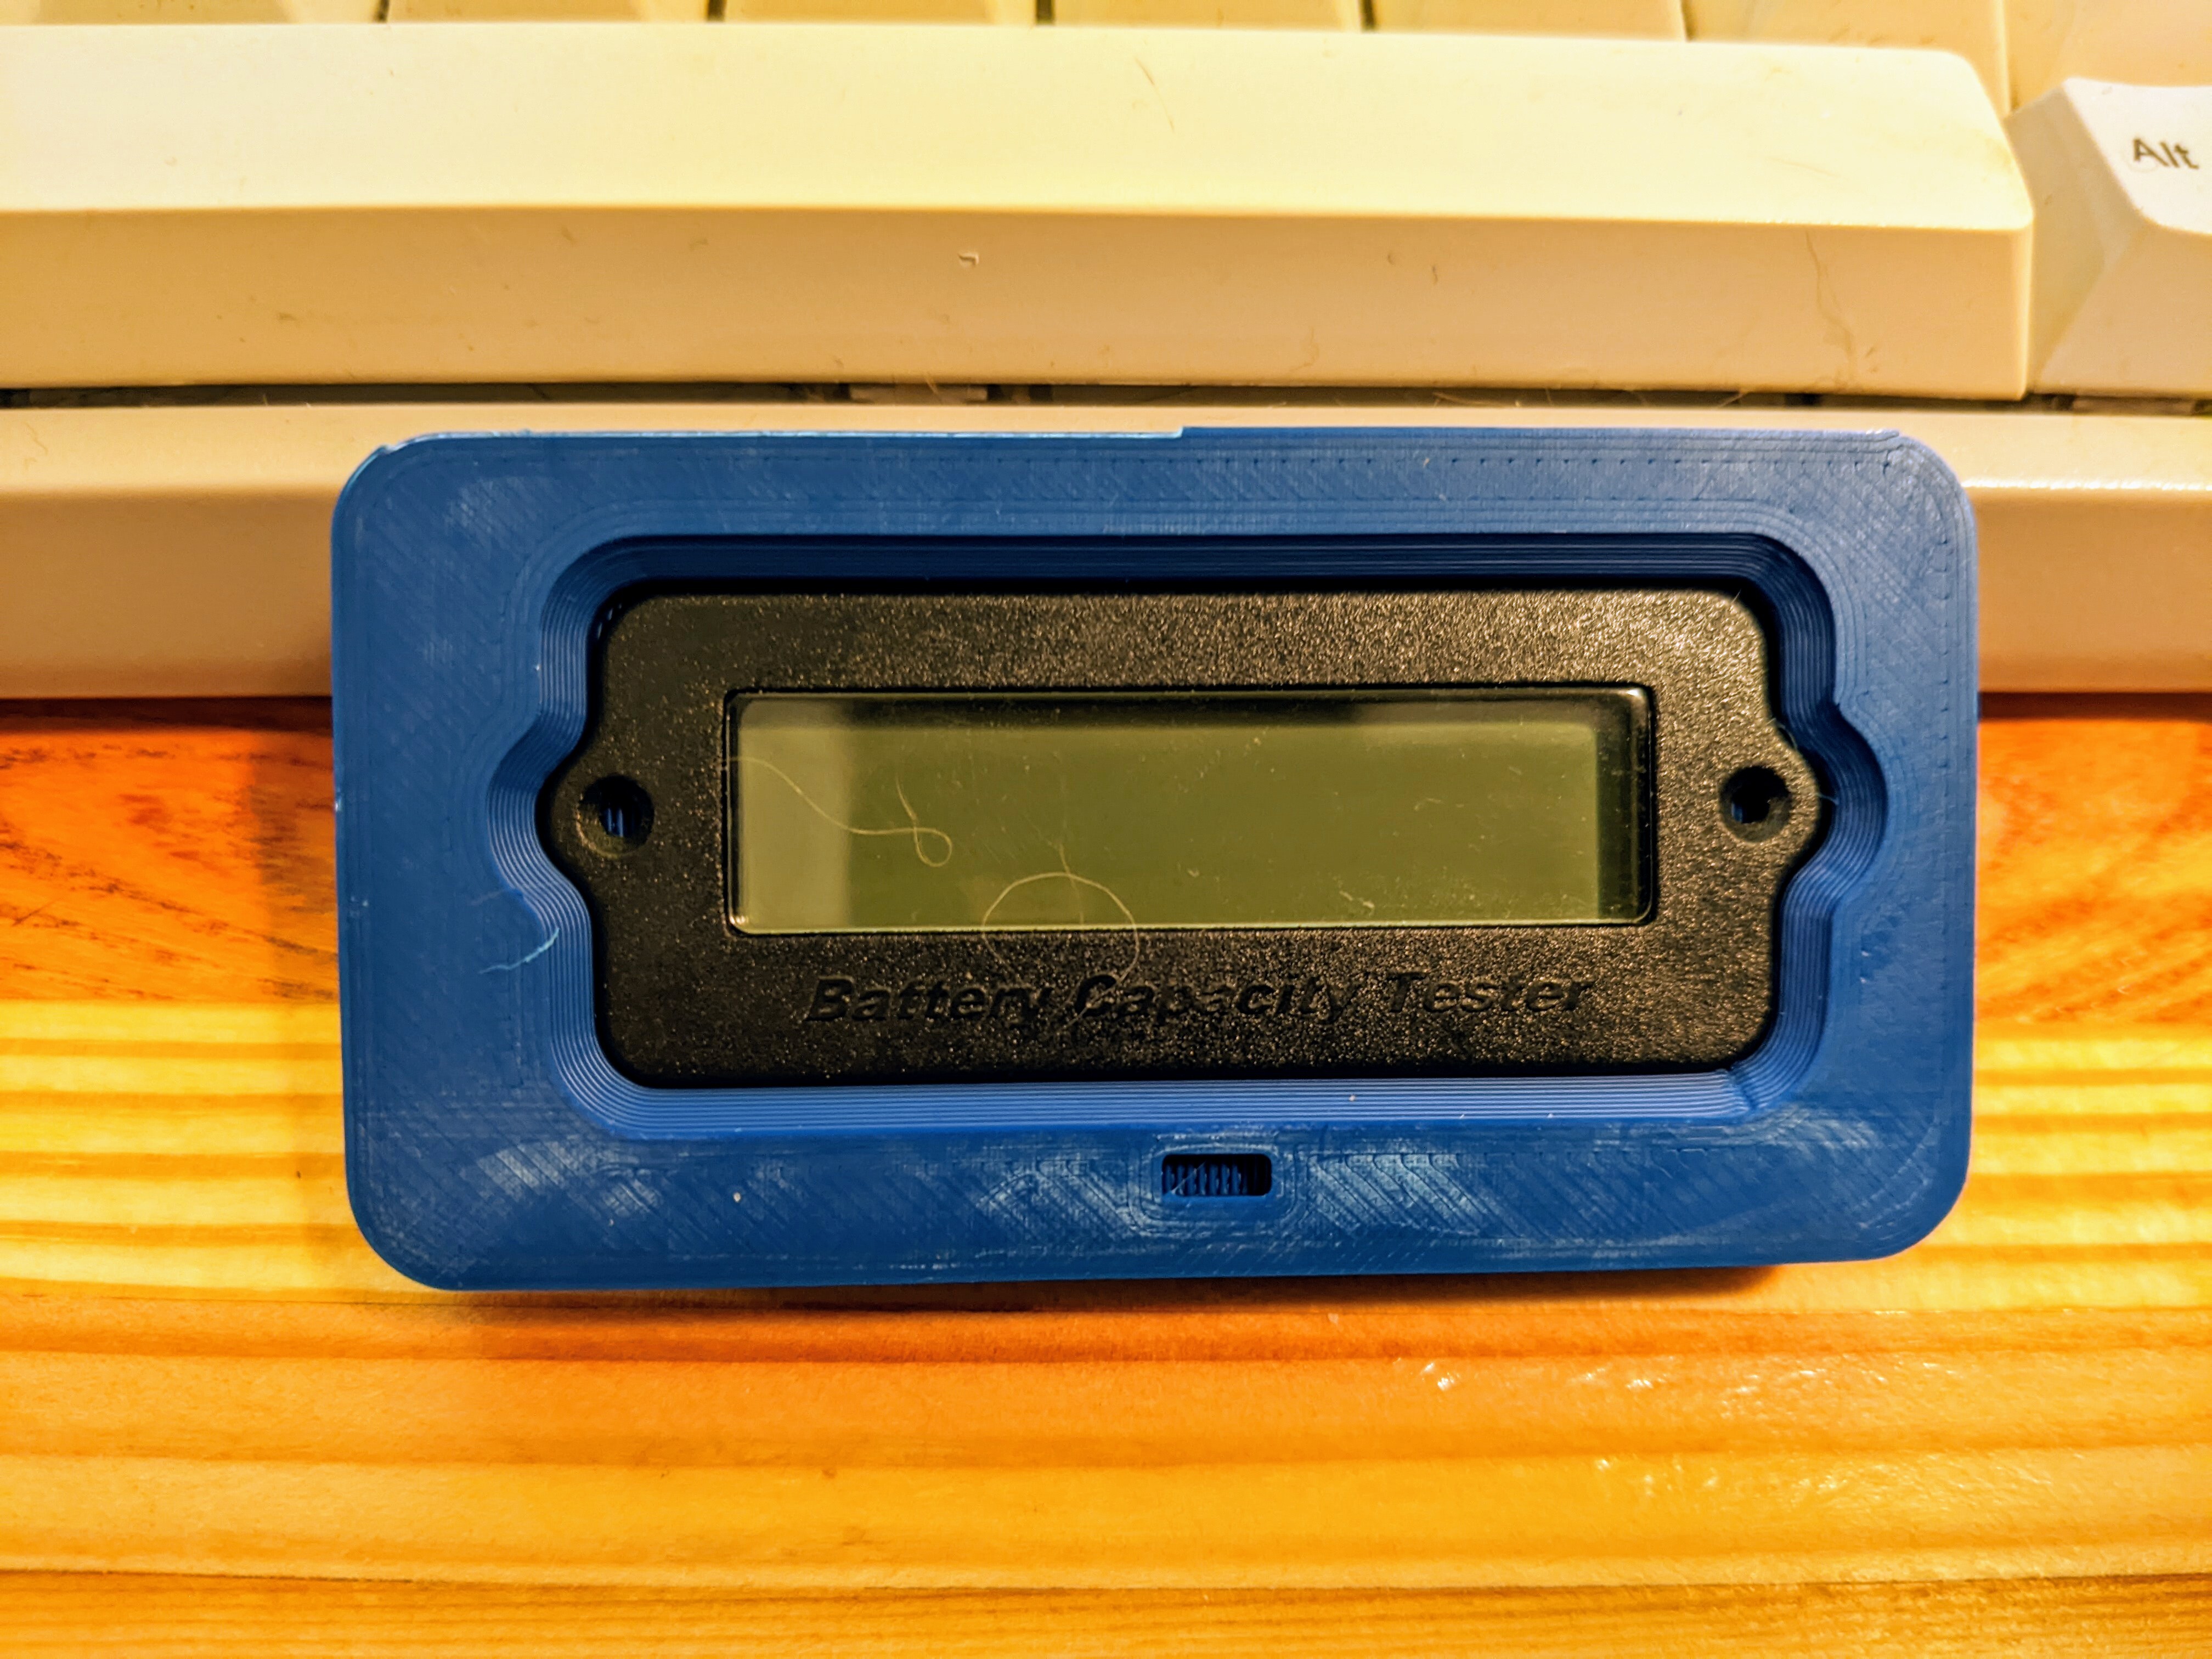
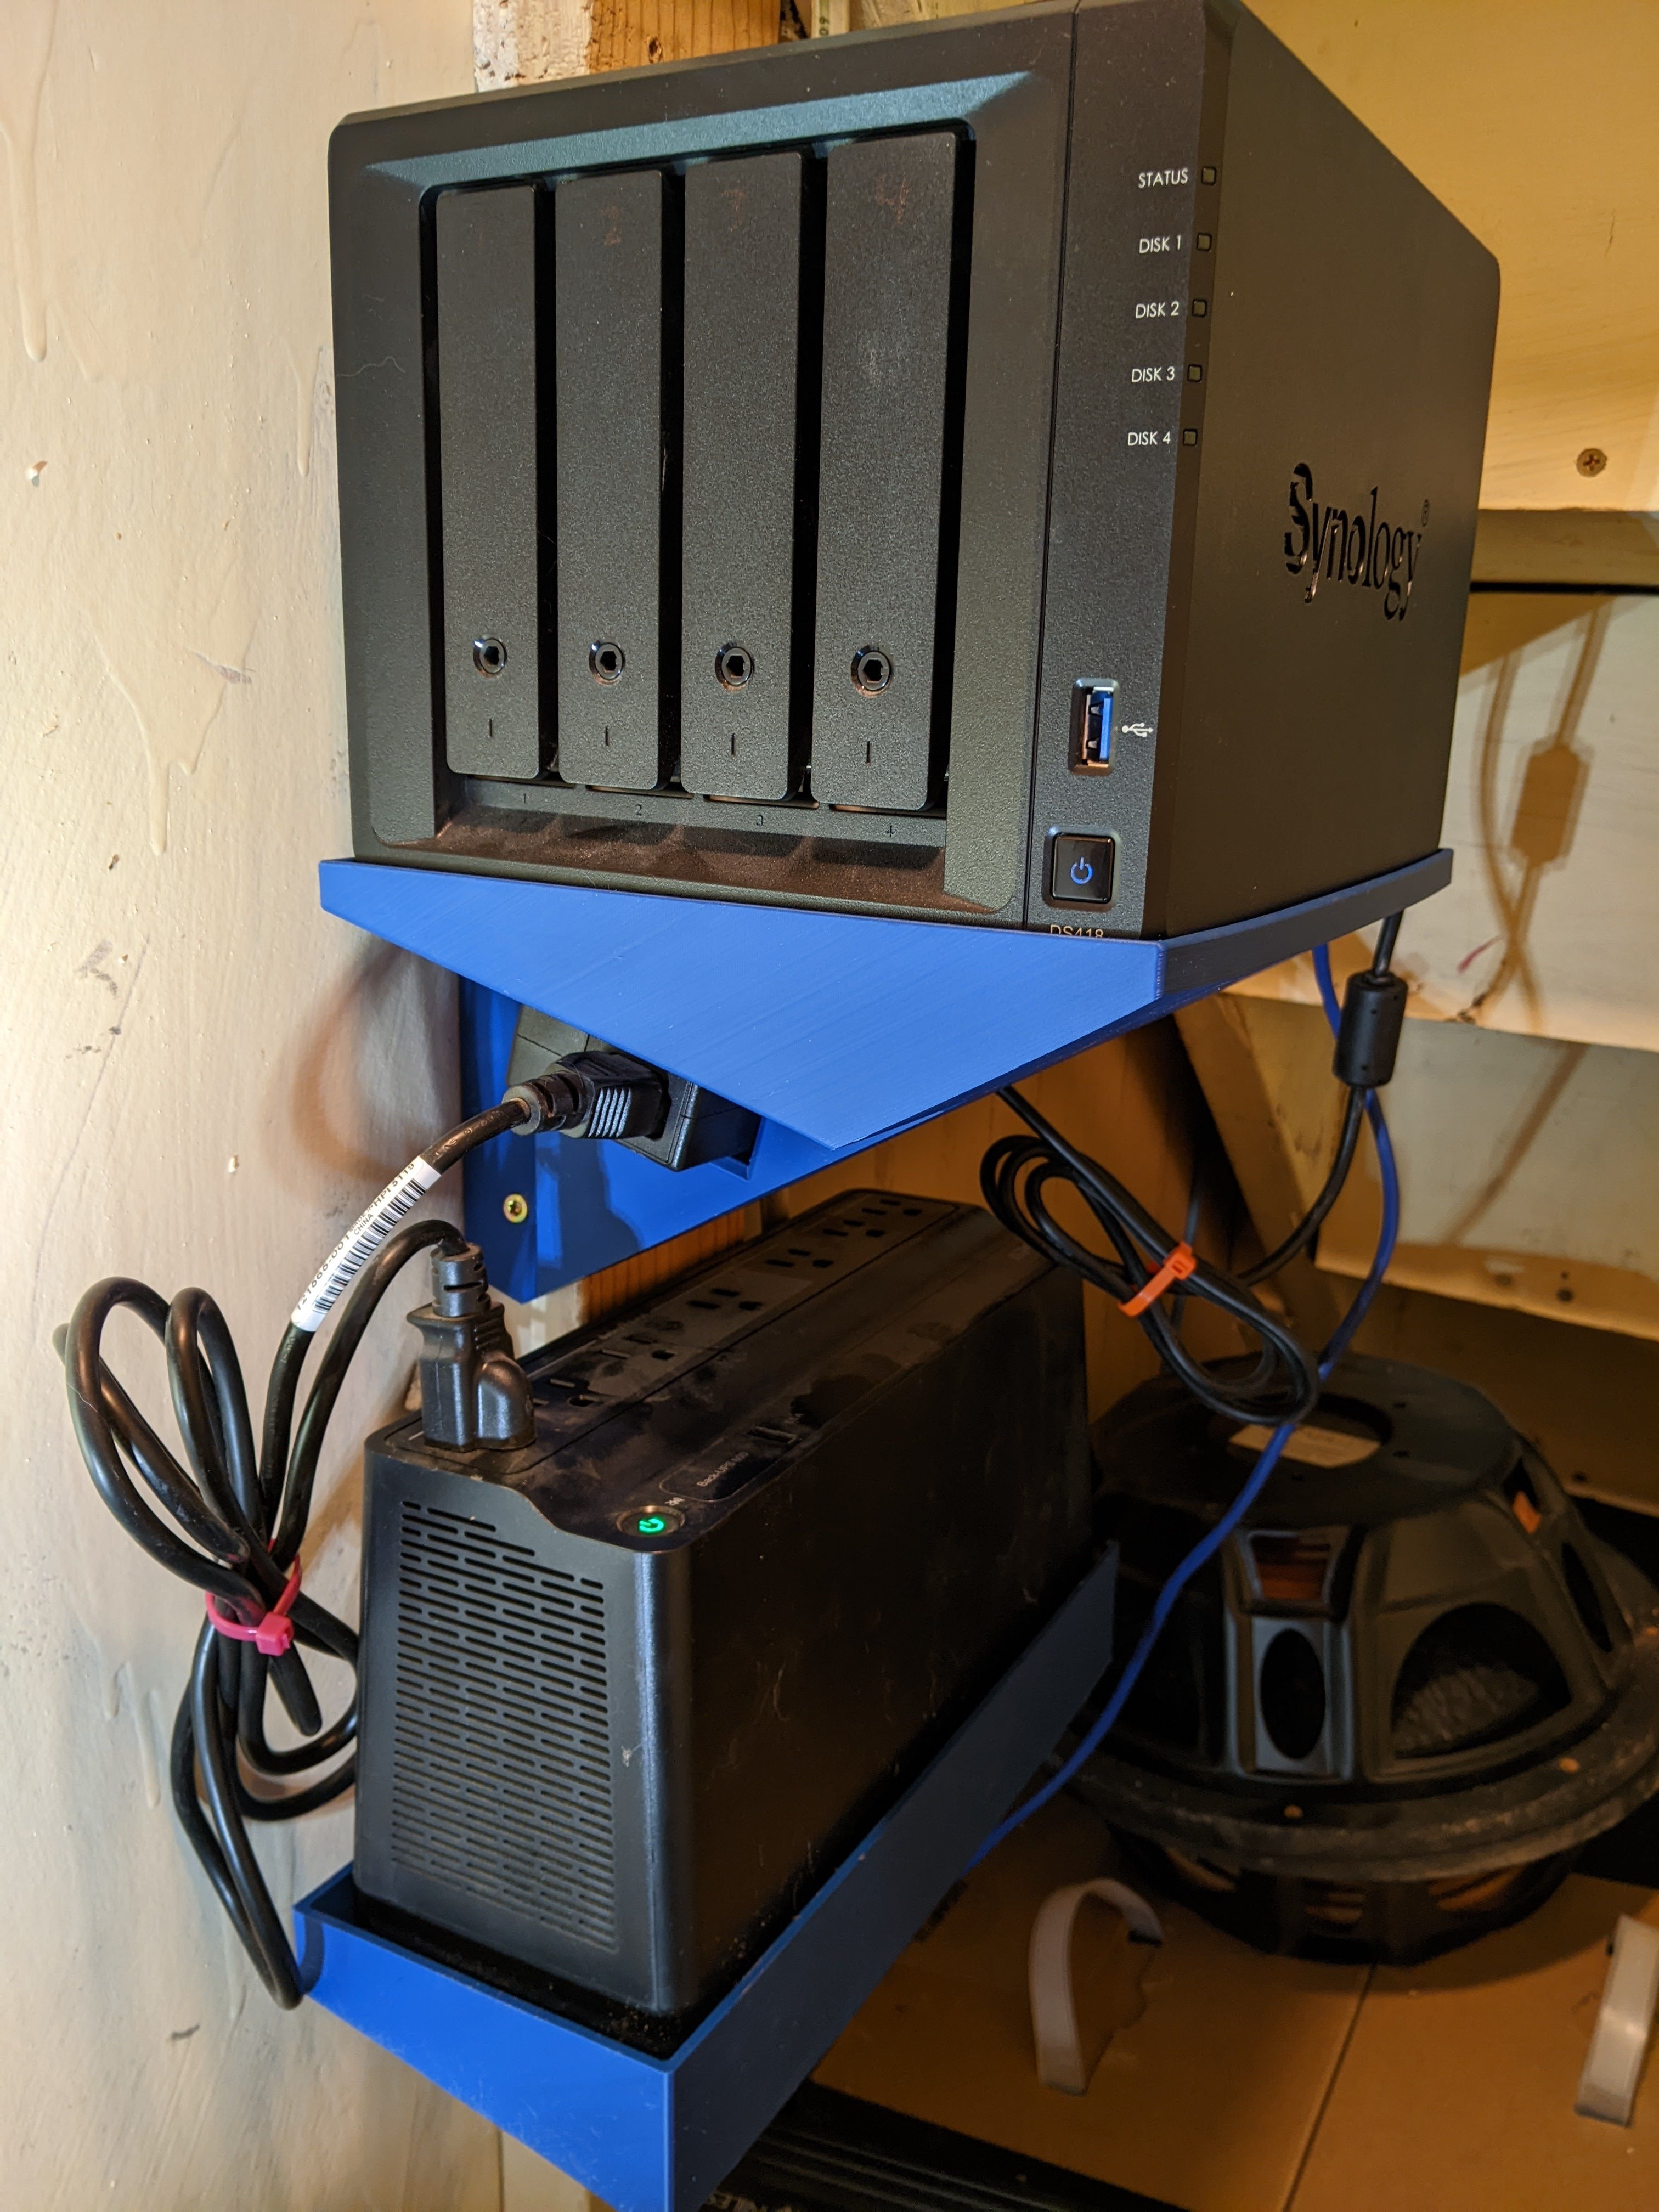
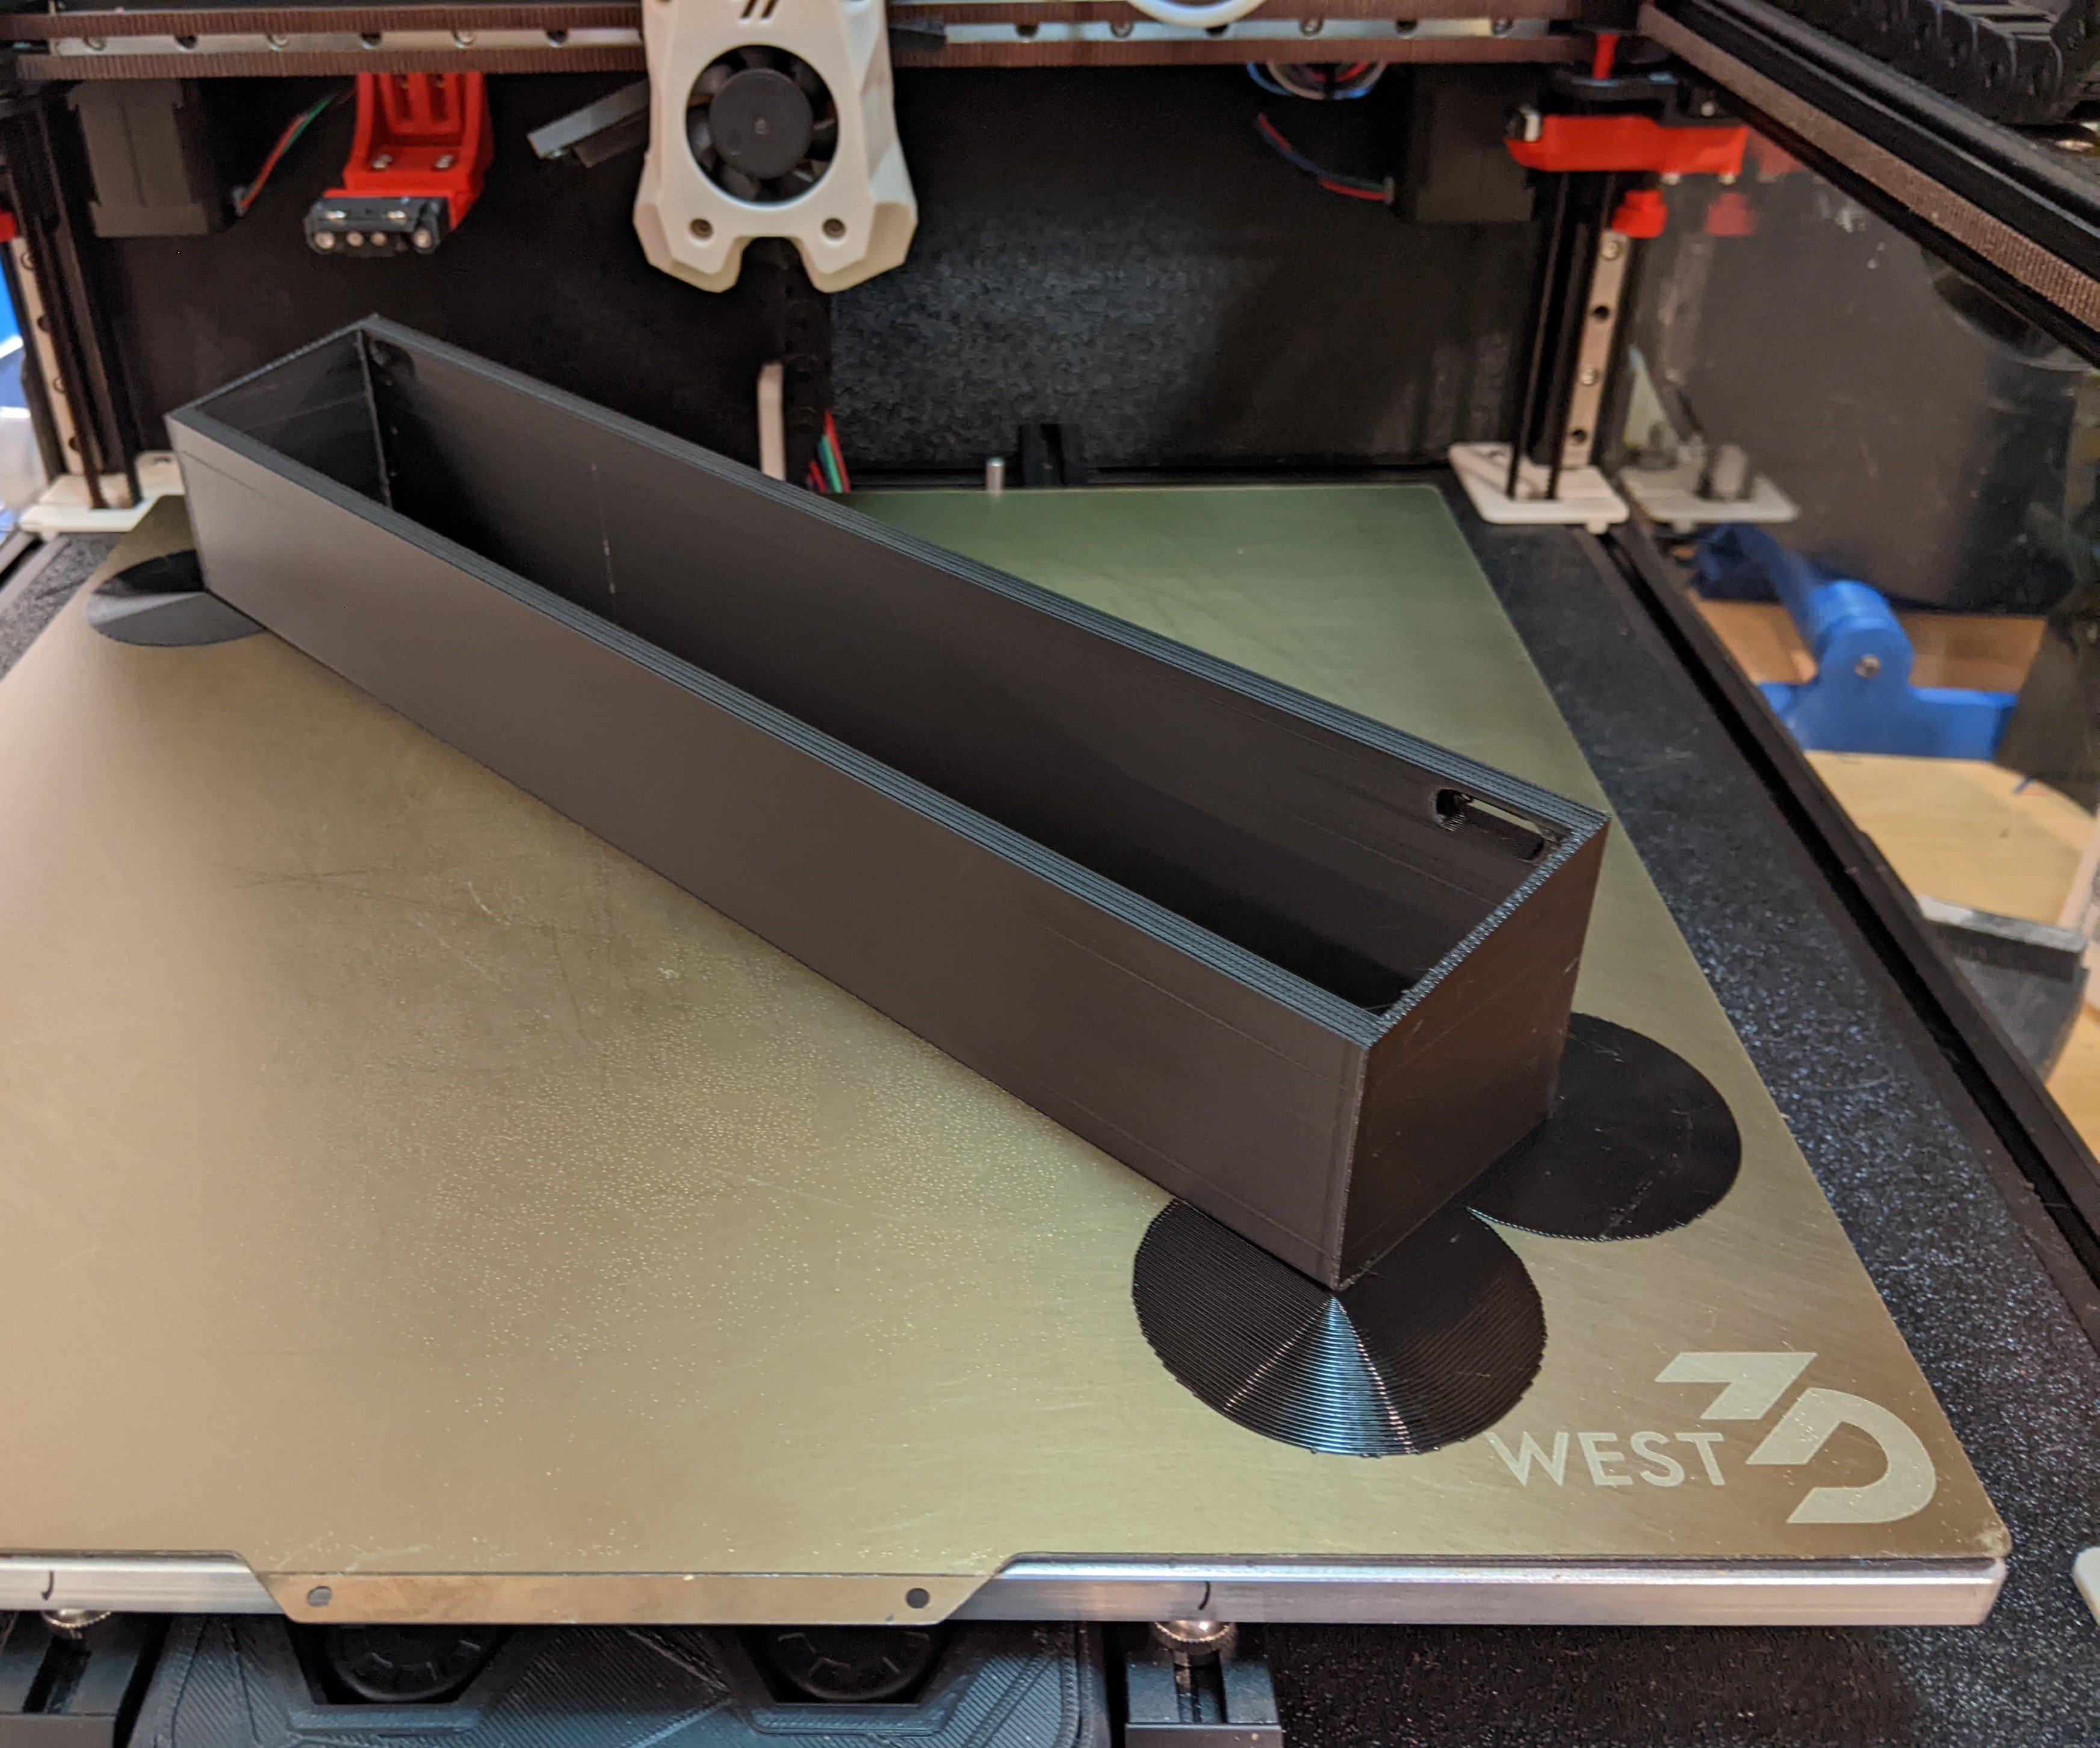
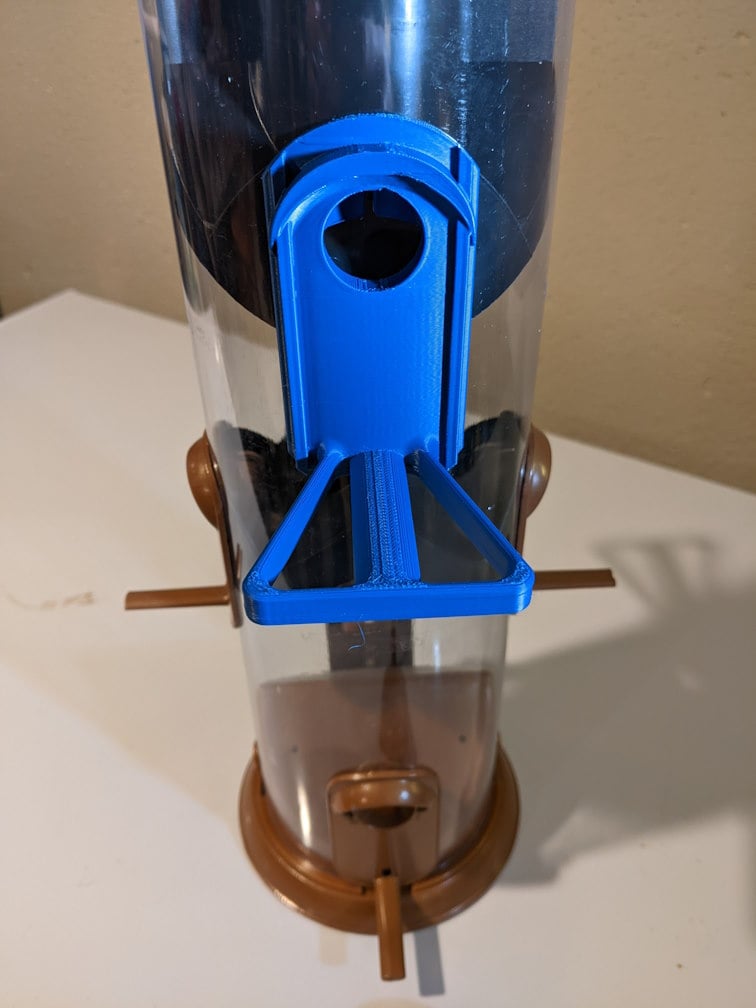
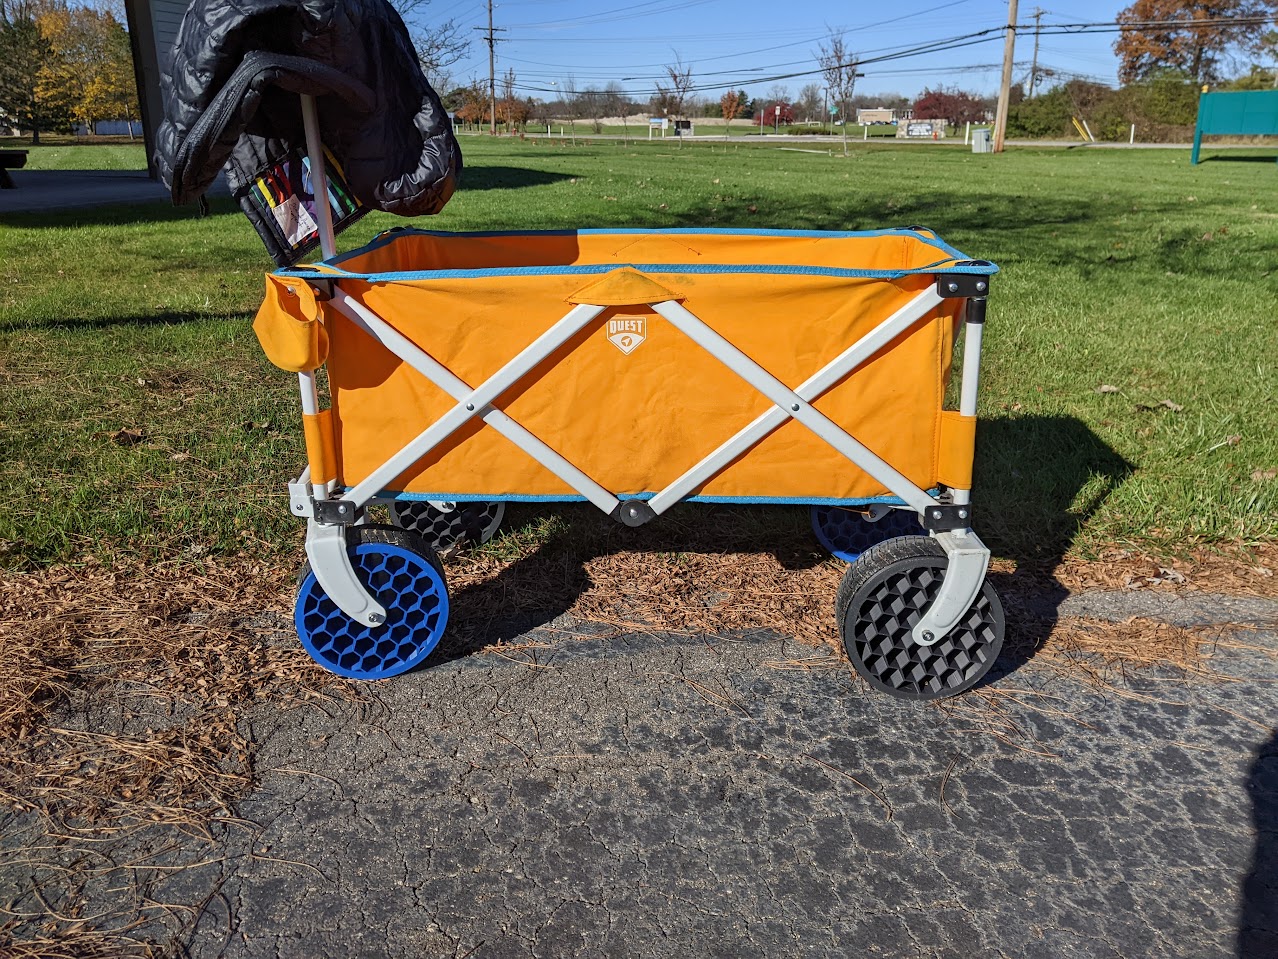
All that said, I am a massive believer in functional prints. You can breathe new life into existing things and the things you create can be here for a long time.
All the time, three meals a day
Agree that the result won’t be a perfect print, but I personally prefer this route over printing the other half, sanding the first half flat to account for a partial layer like you said, and then gluing.
I guess it comes down to what you goal is. 90% of my prints are functional and I don’t really care if they’re a bit ugly at times.